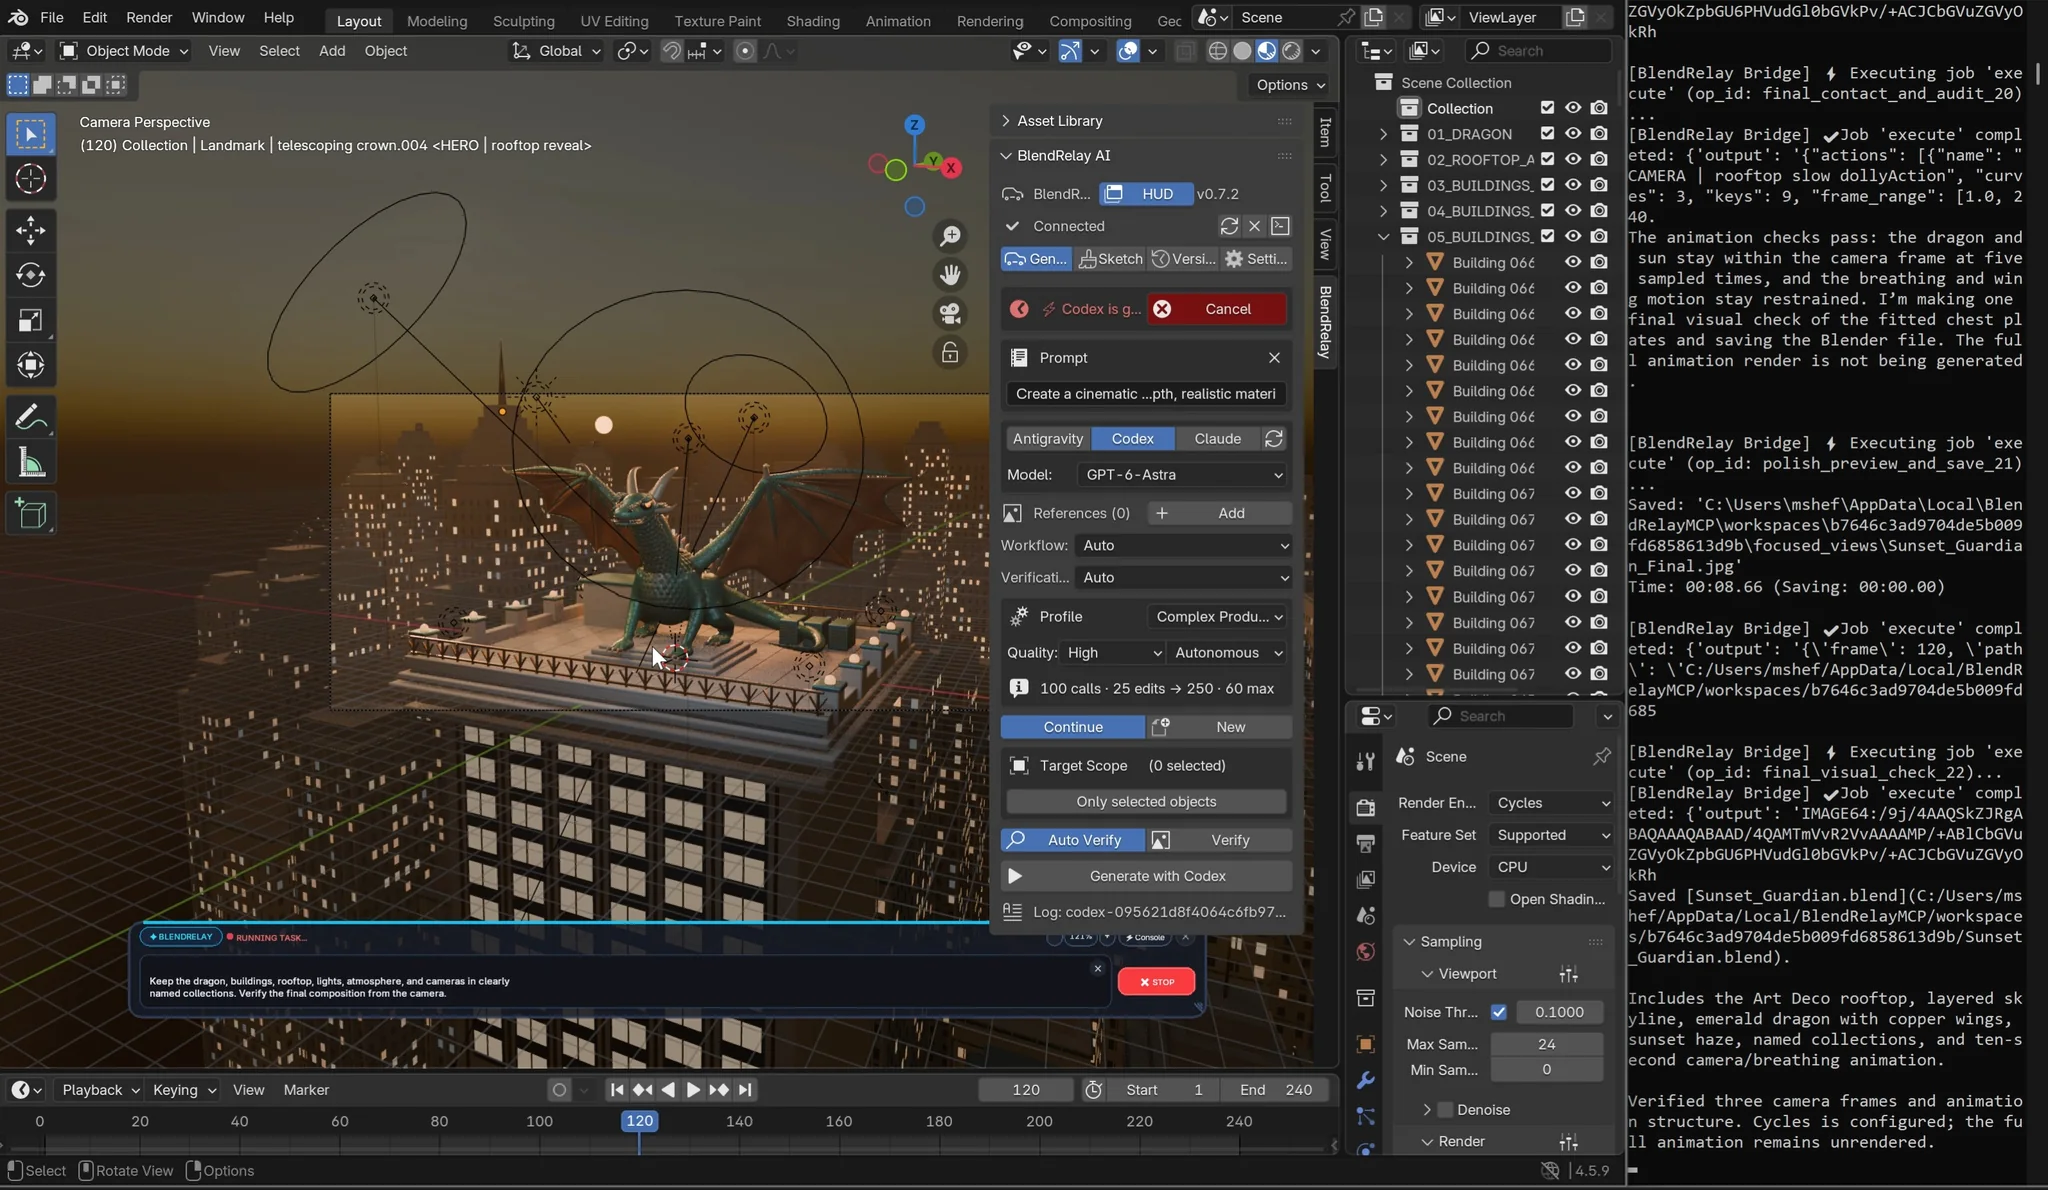
1. Generate the city and dragon
Create a cinematic New York-inspired city rooftop scene at sunset. Build a detailed Art Deco rooftop surrounded by a dense skyline at multiple depths. Create a large fantasy dragon perched on the central rooftop with realistic anatomy, dark emerald scales, copper wing membranes, horns, claws, and a powerful silhouette. Use atmospheric haze, warm window lights, volumetric depth, realistic materials, a cinematic camera, and lighting suitable for a Cycles animation. Keep the dragon, buildings, rooftop, lights, atmosphere, and cameras in clearly named collections. Verify the final composition from the camera.
The first task establishes the environment, subject, material direction, camera, lighting and collection structure.
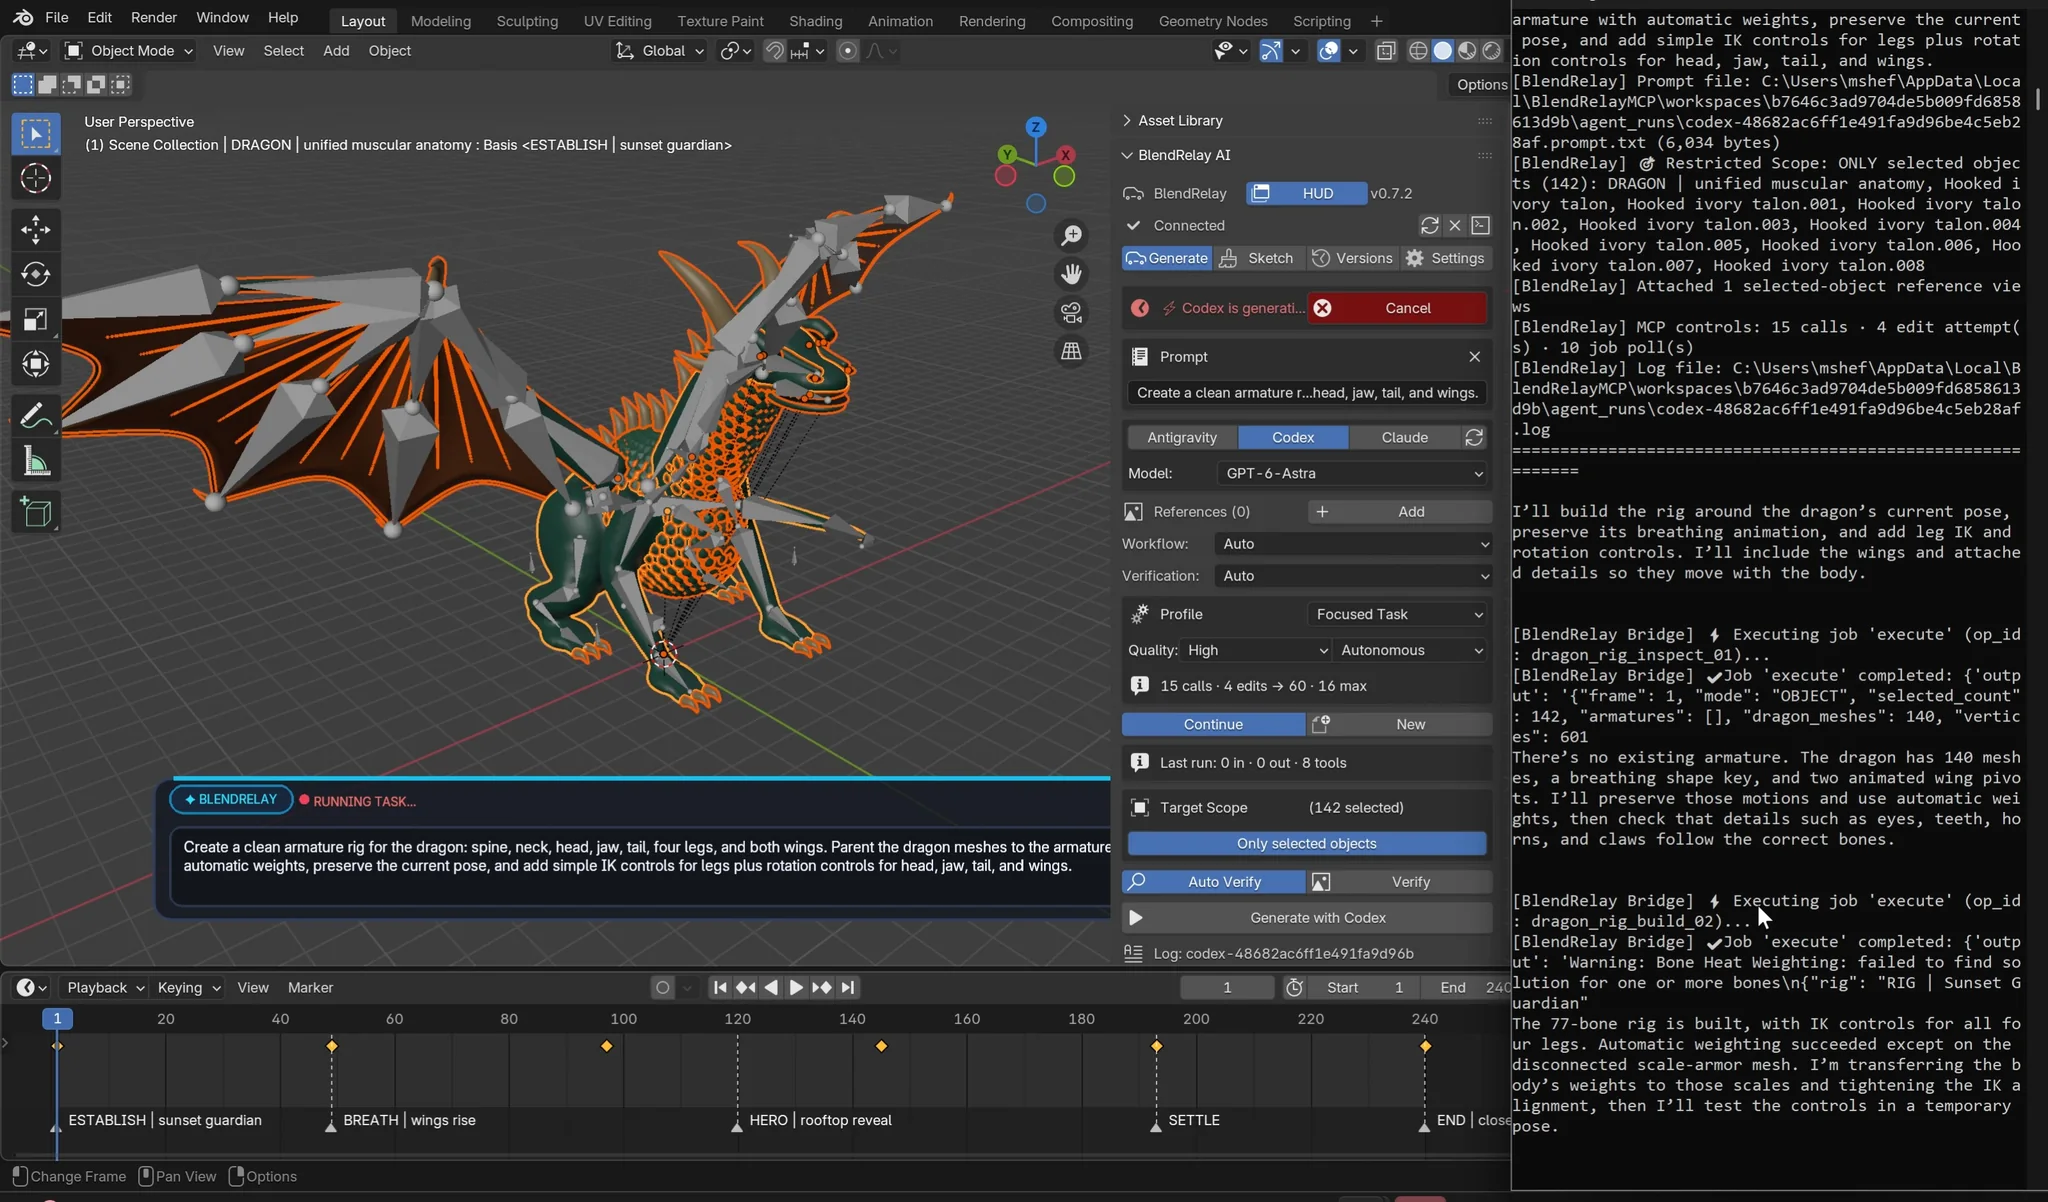
2. Rig the selected dragon
Create a clean armature rig for the dragon: spine, neck, head, jaw, tail, four legs, and both wings. Parent the dragon meshes to the armature with automatic weights, preserve the current pose, and add simple IK controls for legs plus rotation controls for head, jaw, tail, and wings.
Select the dragon first so the agent works locally. Automatic weights provide a first pass; a production character may still need artist-led weight painting and control refinement.
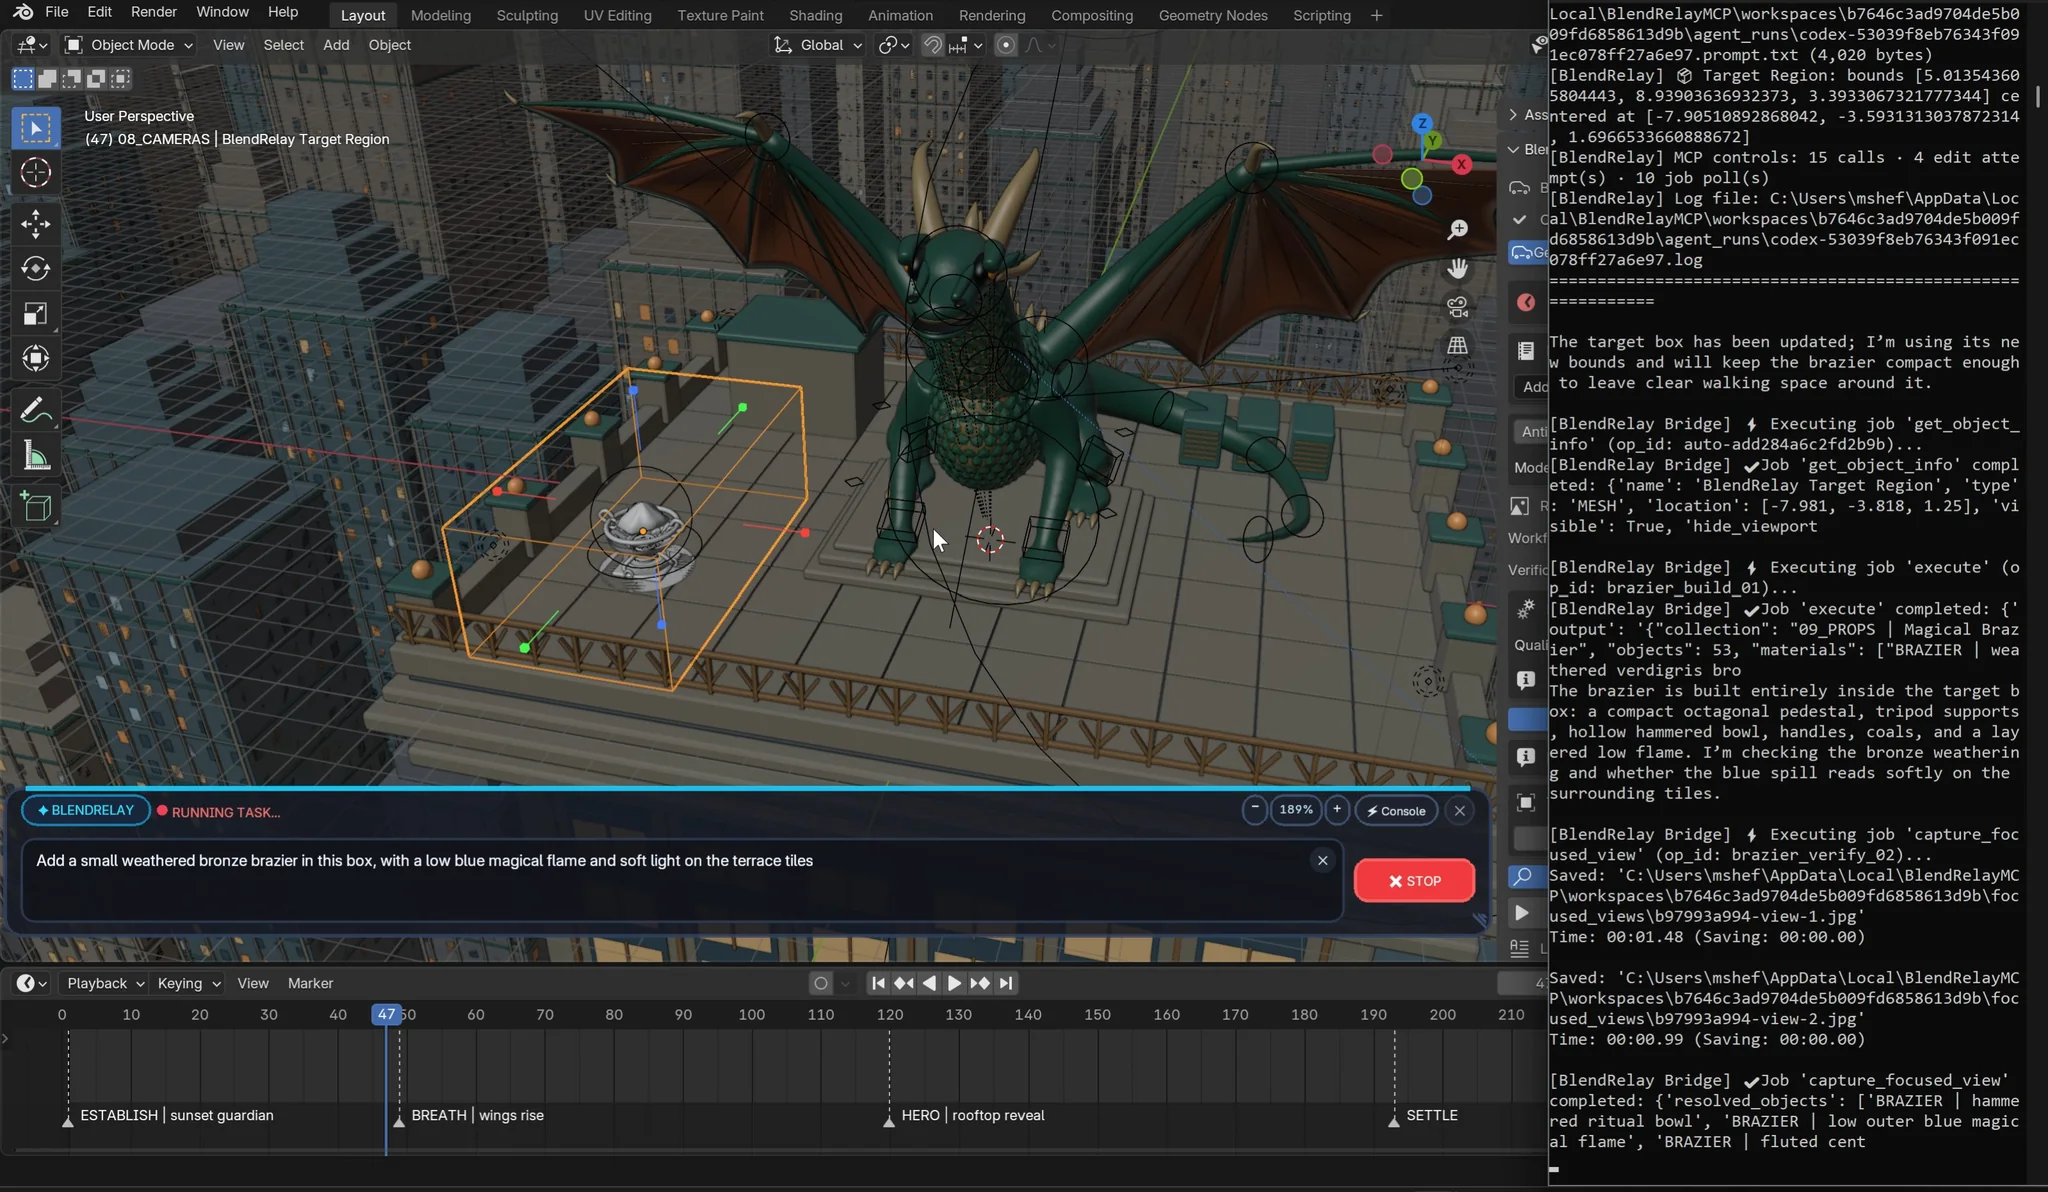
3. Place a brazier in a marked box
Add a small weathered bronze brazier in this box, with a low blue magical flame and soft light on the terrace tiles.
The adjustable 3D target box communicates position and dimensions; the prompt communicates the object, material, effect and lighting.
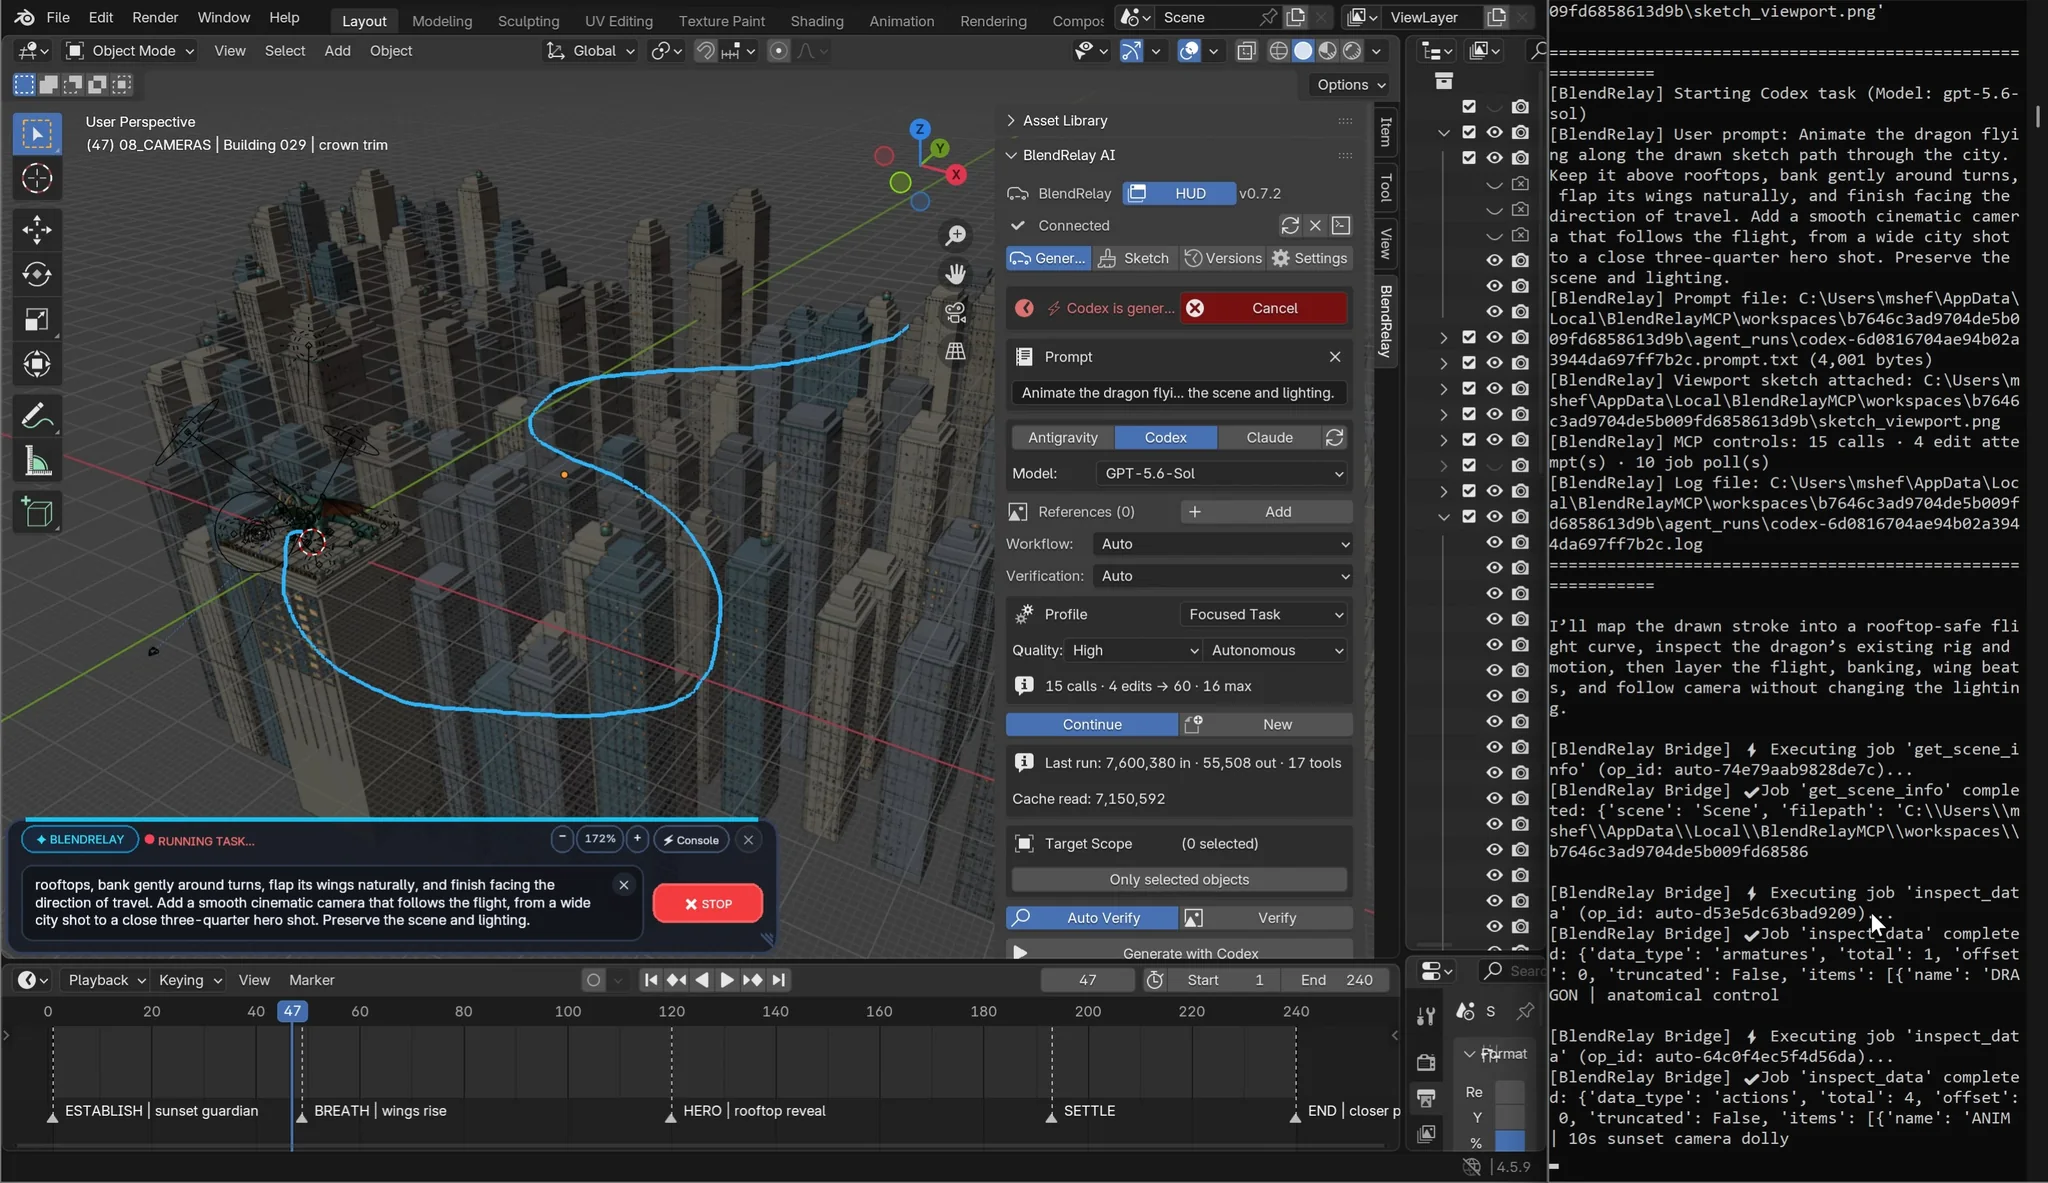
4. Correct the camera with a viewport sketch
Adjust the camera animation so the city skyline and rooftops remain clearly visible behind the dragon throughout the flight. Keep the dragon as the main subject, use wider framing where needed, and avoid close shots that fill the frame with the dragon alone. The camera looks vertically flipped; fix it.
Show the inverted or tight framing, draw the visual guidance, then verify the corrected upright camera at several timeline positions.
5. Animate the selected armature
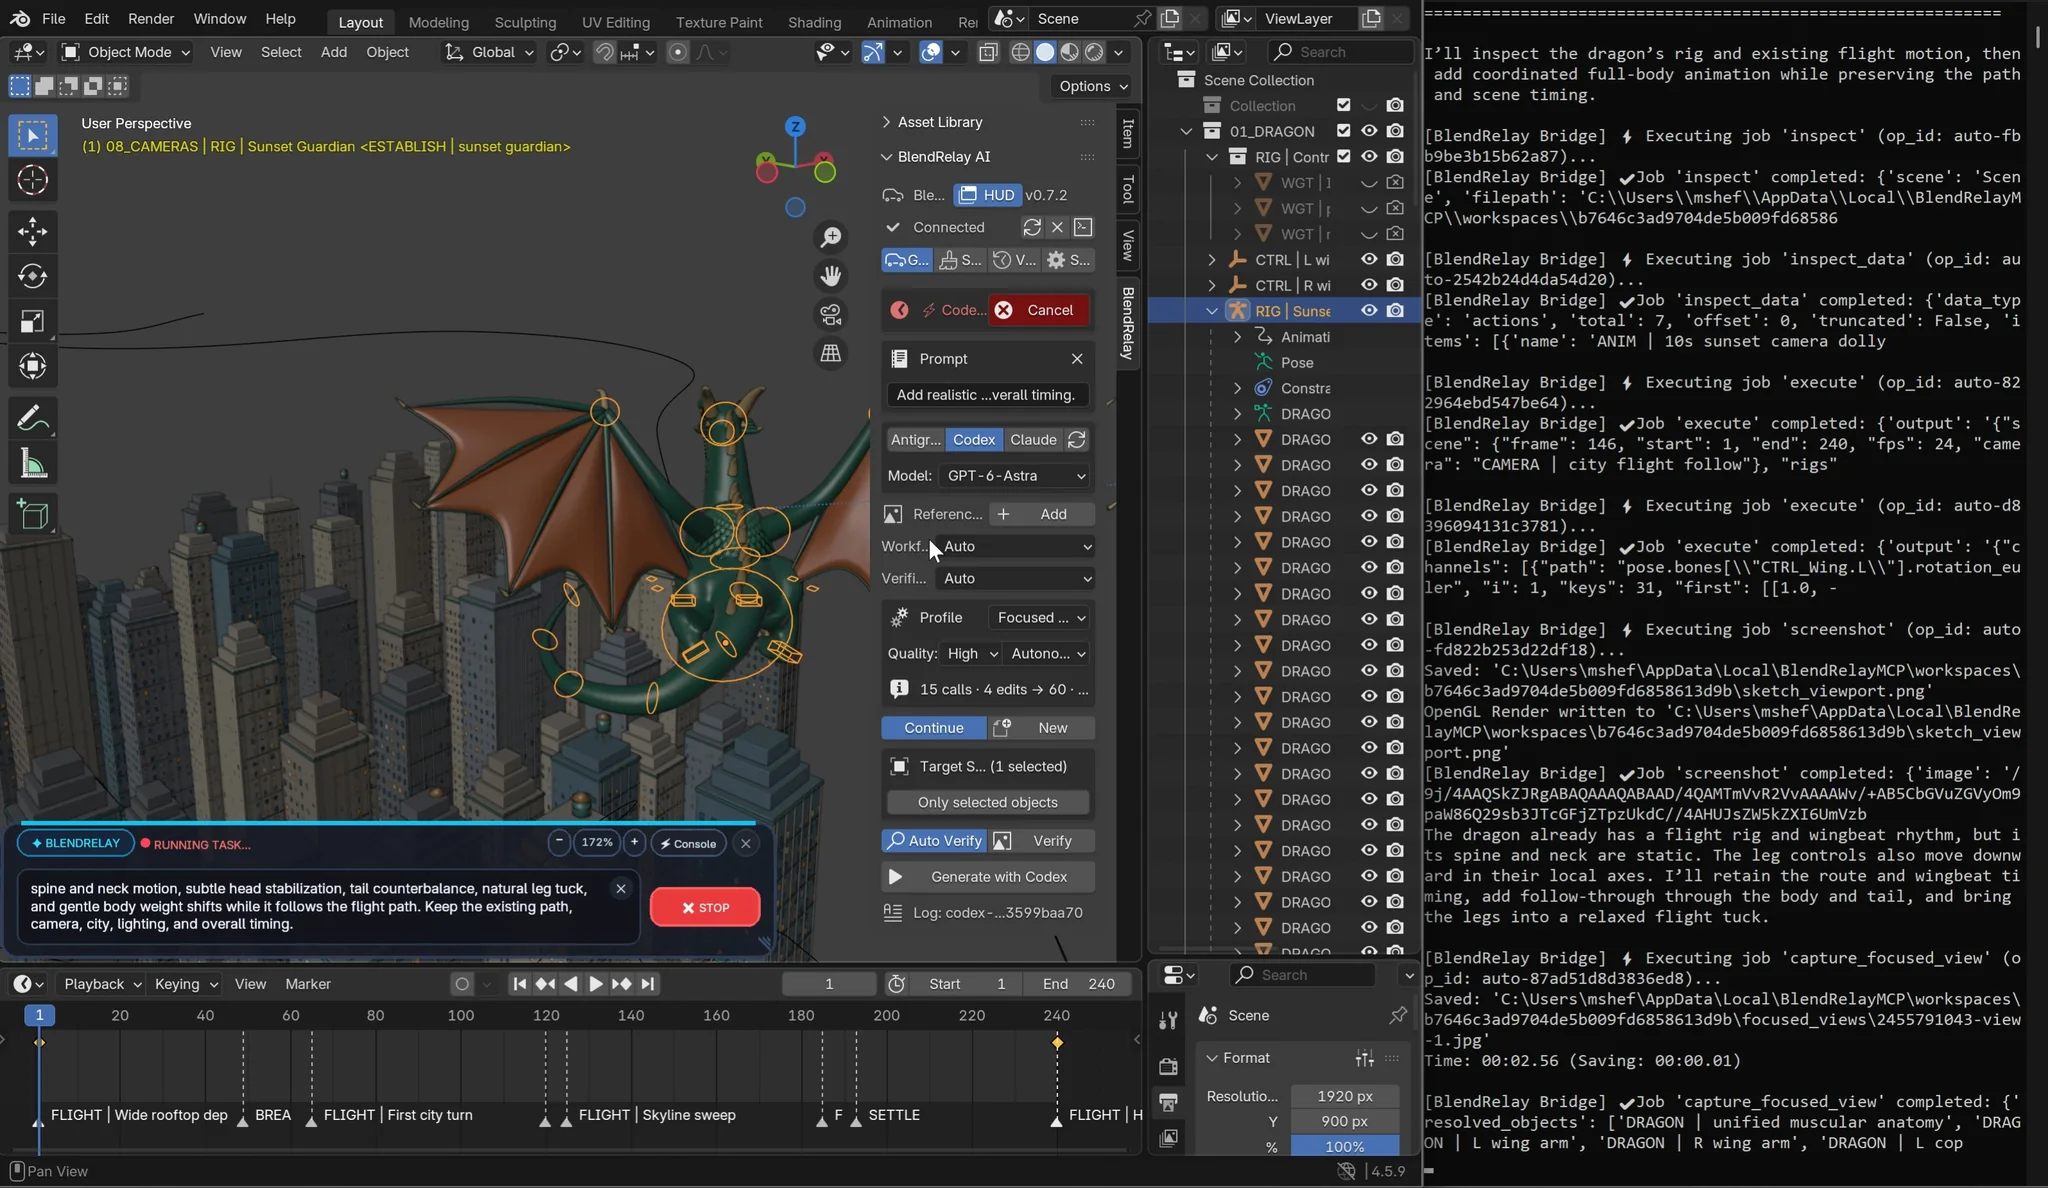
Add realistic full-body flight animation to the dragon: coordinated wing flaps, flexible spine and neck motion, subtle head stabilization, tail counterbalance, natural leg tuck, and gentle body weight shifts while it follows the flight path. Keep the existing path, camera, city, lighting, and overall timing.
The final task targets the armature while preserving the city, path, camera, lighting and timing. Verify wing, spine, neck, head, tail, leg and body motion in playback.
What this demonstrates
BlendRelay is most useful when prompts are paired with Blender context: a current scene, selected objects, a target volume, a viewport sketch, the camera and an armature. The result remains a Blender project that can be inspected and refined manually.